The smart Trick of Western Fences Perth Wa That Nobody is Talking About
Wiki Article
Unknown Facts About Western Fences Fencing Contractor
Table of ContentsThe Buzz on Western Fences Perth WaWhat Does Western Fences Wa Mean?All About Western Fences Fencing ContractorSome Known Factual Statements About Western Fences Wa Rumored Buzz on Western Fences Perth Wa
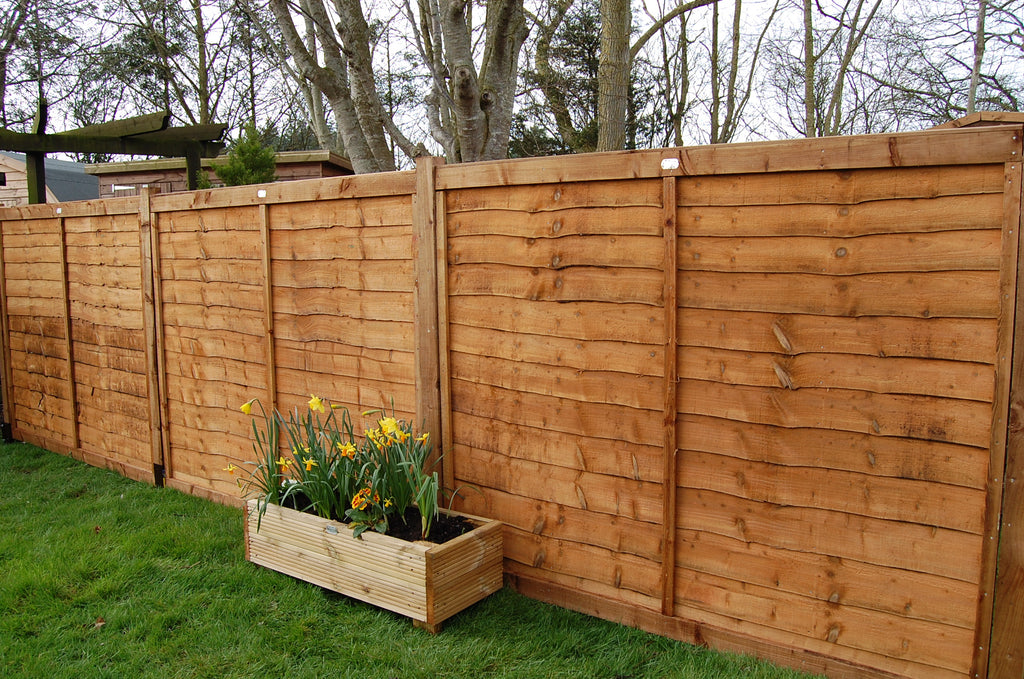
We put the bottom rail about 8 inches from the ground, the top rail concerning 8 inches from the top of the fencing and also the various other one in the center of the top and also lower rails. Measure and also mark your initial fence post and also screw the rail braces right into put on the articles.The last action is the most tedious of all. Outline your pickets along your fencing and also begin screwing them in one at a time. There need to be 2 deck screws per rail, so 6 screws complete on each picket. Some individuals utilize nails but your fencing will certainly last a great deal longer with screws.
You do not require to set up the pickets with any spaces in between them. Relying on your fence layout, you might want to include a wood gate to your fencing. We added one near the front yard so you can conveniently access the backyard via the side entrance. This is useful so we can conveniently obtain our mower from the backyard lost as well as into the front lawn to trim the yard.
Mark your fence post places (8 ft apart)Dig blog post hole with blog post hole miner. Address the very least 2 feet down and 12 inches broad for a 6 feet fence, which will certainly make use of 8 ft messages. You desire all-time low 2 feet to be in ground. Establish fencing articles with concrete.
8 Easy Facts About Western Fences Perth Wa Described
Attach fence pickets with 6 screws on each picket (2 at each rail)Construct gate (if required). We summarized the entire process of building eviction in a different video as well as article, so make certain to examine that out below. As you dig out your fencing blog post openings, you may encounter some rocks and boulders.
You might run into a rock so big that it is incapable to be removed from the ground. Pierce a huge opening in the rock base where you want to fencing post to go.
Fill opening with epoxy/acrylic anchoring adhesive we utilized this. Establish message support right into opening quickly and also see to it it's straight. Allow glue dry/cure. Add fence article into support and screw into location. Backfill remaining location of the opening with concrete and water. Combine with shovel as well as allow dry.
Mounting a fence by yourself can appear a little daunting initially however the reality is, as long as the layout and also products are of top-notch, the entire fencing installation process ought to be relatively easy. Armed with the proper tools, the ideal custom-made materials, and with the backup of support from experts like us, you'll be appreciating your own handiwork quickly! The needs for fence installment vary from one state to another, as well as in Brisbane, are implemented by the Brisbane Common Council.
The Greatest Guide To Western Fences Perth Wa
Neither event www.westernfenceswa.com.au needs to attach anything to the separating fence that could damage it. In the majority of situations, concerns concerning dividing fences need to be resolved by the owners of the residential properties themselves Aluminium secure fencing is among the most prominent fence installation products on the market, as well as for great reason.

Fill up the openings with a damp concrete mix utilizing the string line to guarantee the blog posts run straight, as well as utilize the spirit degree to check that the fence articles are 100% upright. 6. For the very best results install the fencing blog posts first, permitting the concrete to set for at the very least 24 hrs prior to installing the fence panels as well as the gateway.
Western Fences Wa Fundamentals Explained
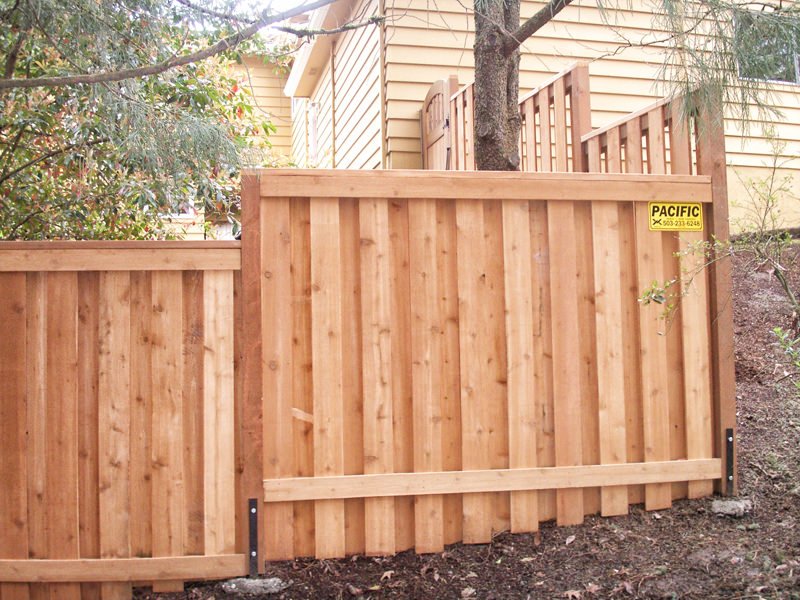
Fit the top panel braces utilizing your screw gun. Be mindful not to pierce also difficult as the screws might split. 4. Move the string align the post, level with the top of the panel braces, to create a new level line for every run of the fencing, while measuring down to inspect the void under the panel.Screw in the top brackets level with this 2nd string line. 6. Beginning at the edge, area that end of the panel right into the bracket, pushing the next article slightly to slot the various other end of the panel right into location. 7. Continue building your fence, panel by panel, up until all panels are in area.
Prior to setting up the lower brackets as well as under-pinning the leading braces, look along the line of secure fencing panels and also check that you enjoy with their positioning. 1. Fit the joints to the exterior of eviction, positioning them as far apart as possible. 2. Lift eviction into position as well as screw the joints to the fencepost.
If your fence is to house a pool, make sure that eviction opens up far from the pool so that children will certainly push the entrance closed as opposed to open if attempting to get. 4. Comply with the gate latch guidelines provided. Easy! Now appreciate your brand-new fence!.
The Best Guide To Western Fences Wa
Report this wiki page